Setting up XAMPP on your Windows machine is by far no easy feat, let us help you! But once it’s installed, it’s a breeze to run and will save you a bunch of time if you need to run WordPress or Joomla locally. The great thing about running a localhost install is that your test site will run much more quickly than it otherwise would online. A localhost install is also more secure and provides an ideal testing environment on your computer, away from prying eyes or hackers.
What is XAMPP?
XAMPP stands for cross-platform, Apache, MySQL, PHP and Perl. It’s a simple and lightweight solution that allows you to create a local web server for testing purposes. Since XAMPP is cross-platform, it also works on Mac and Linux, but today we’re going to focus on how to set up XAMPP on Windows 10. XAMPP provides the necessary environment needed to run WordPress or Joomla on a local machine.
Installing XAMPP
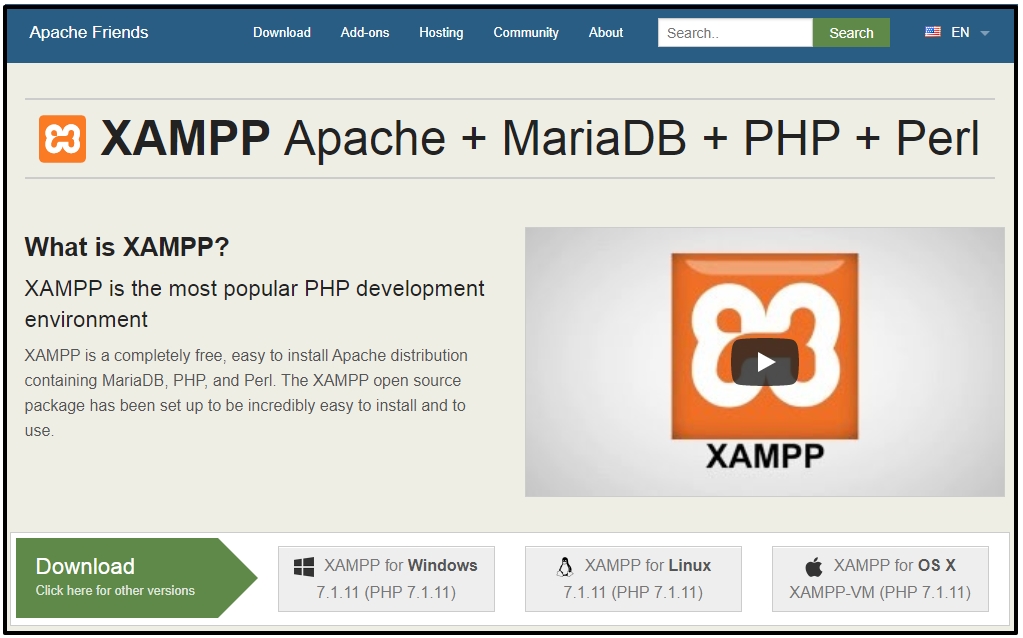
Go to the Apache Friends website and download XAMPP. Once downloaded, launch the installer.
Note: During the install process, you may receive warnings such as Windows asking you if you’re sure you want to install the software and the installer prompting you about antivirus software.
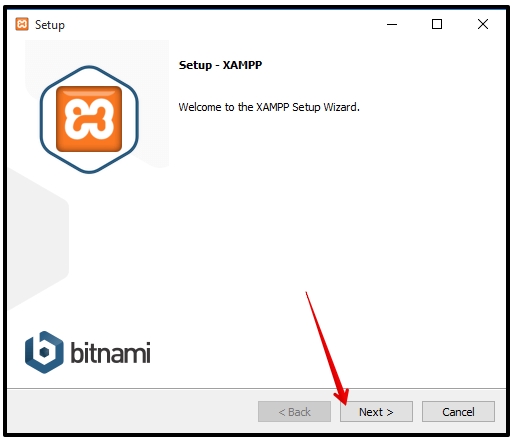
STEP 1: The XAMPP setup wizard will guide you through the installation. Click Next.
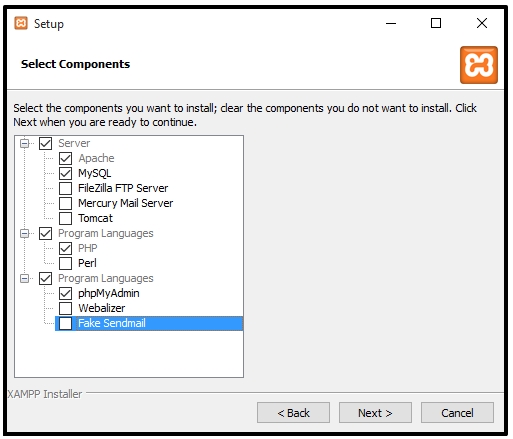
STEP 2: Please select which components of the software you would like to install and which ones you don’t want. Some options, such as Apache and PHP are essential to running the software and will at automatically installed, so they are grayed out so you can’t select them.
It’s up to you which components you want to install. Since we want to run WordPress or Joomla in our localhost environment, leave MySQL and phpMyAdmin checked and uncheck the remaining options.
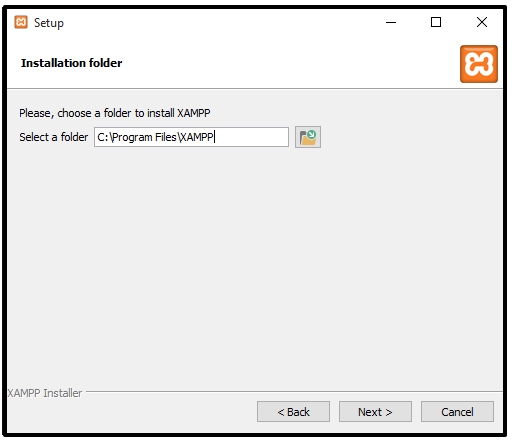
STEP 3: Select the folder where you would like to install XAMPP on your machine. I’m going to create a new folder in C:\Program Files\XAMPP.
STEP 4: Please untick “Learn more about Bitnami for XAMPP” and click Next.
STEP 5: After going through all those initial installation steps, XAMPP is now finally ready to install. Click Next.
STEP 6: Here, you’ll be asked whether you would like to start the XAMPP Control Panel, which provides an interface for running your localhost environment. Leave this option ticked and click Finish.
The Control Panel will automatically open or you can go to the XAMPP folder on your computer and open XAMPP Control Panel instead.
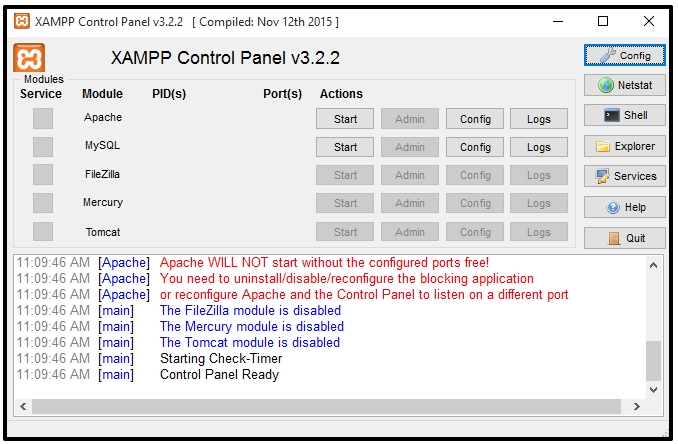
Note:If the installation process went well and everything is running smoothly, the control panel will open with blue and black text updates at the bottom.
Running XAMPP
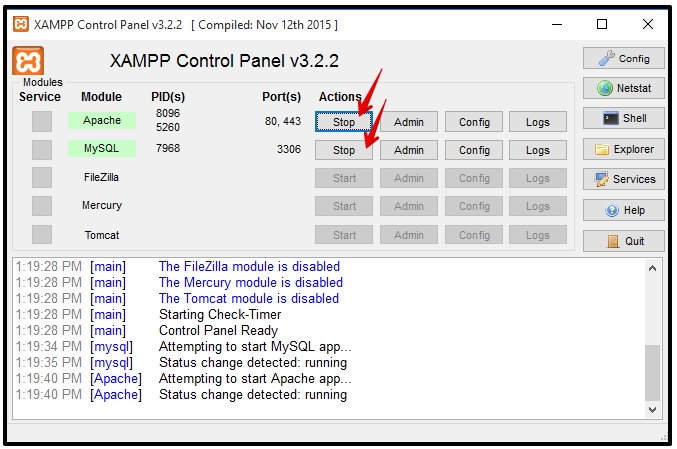
Now, let’s see if everything works smoothly. Start up both Apache and MySQL. Both services are running fine. Excellent!
You can check if your new local server is installed by visiting http://localhost in your browser.
Congratulation! Successfully set up. Good Luck for you.