A floating footer bar can be a great way to increase visitor involvement. This frequently aids in raising email subscribers, promoting sales, and even sharing other website posts. It gives the site a more interactive feel, which many developers have found beneficial. In this tutorial, we will show you How to Create a Floating Footer Bar in WordPress (with plugin), whether for lead generating or content sharing. If you want to increase the number of email subscribers you have, it could be worth your time to read this.
Why should we use a Sticky Floating Footer Bar?
If you employ a sticky floating footer bar, users will see your vital material more prominently. Because this bar is always accessible to users, they are more likely to click on it and discover more useful information. Furthermore, the floating footer bar can be used to increase clicks to other blog posts, grow your email list as well as draw attention to special offers/sales. Let’s explore it right now!
How to Create a Floating Footer Bar in WordPress?
There are many ways to create a Floating Footer Bar in WordPress such as coding or with plugins. However, using coding is complicated so that we will show you how to use the Icegram plugin in this article today. It is a tool with a lot of customization choices that might be beneficial in grabbing your visitors’ attention. It’s an excellent method to include a call-to-action link or even shares a landing page with anyone, regardless of whatever post they’re reading. Now, you can follow the steps below:
Step 1: Installing Icegram
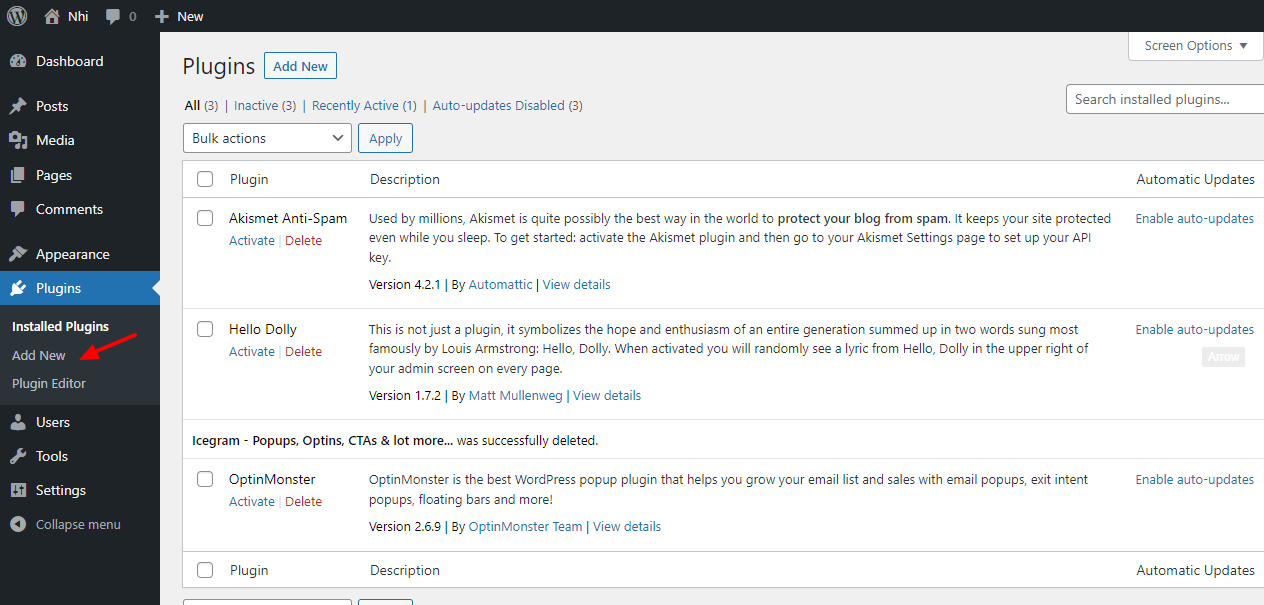
Begin by going to the left-hand admin panel and clicking on Plugins, then selecting the “Add New” option.
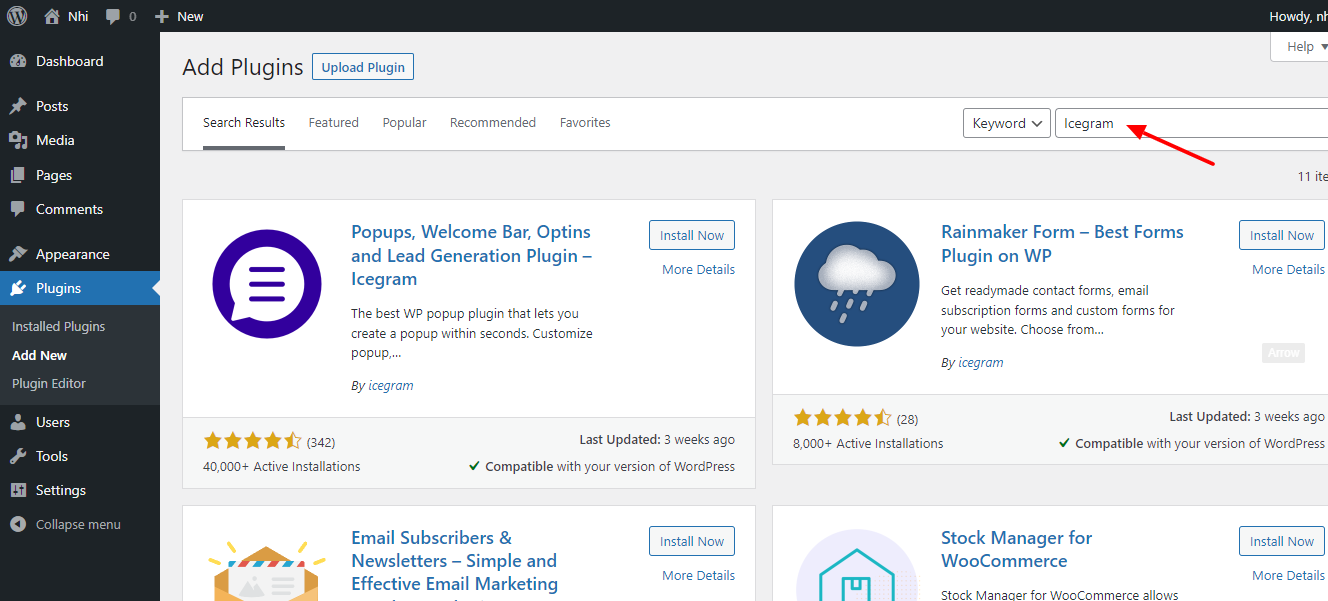
In the available search box, type Icegram. This will bring up a list of additional plugins that you might find useful.
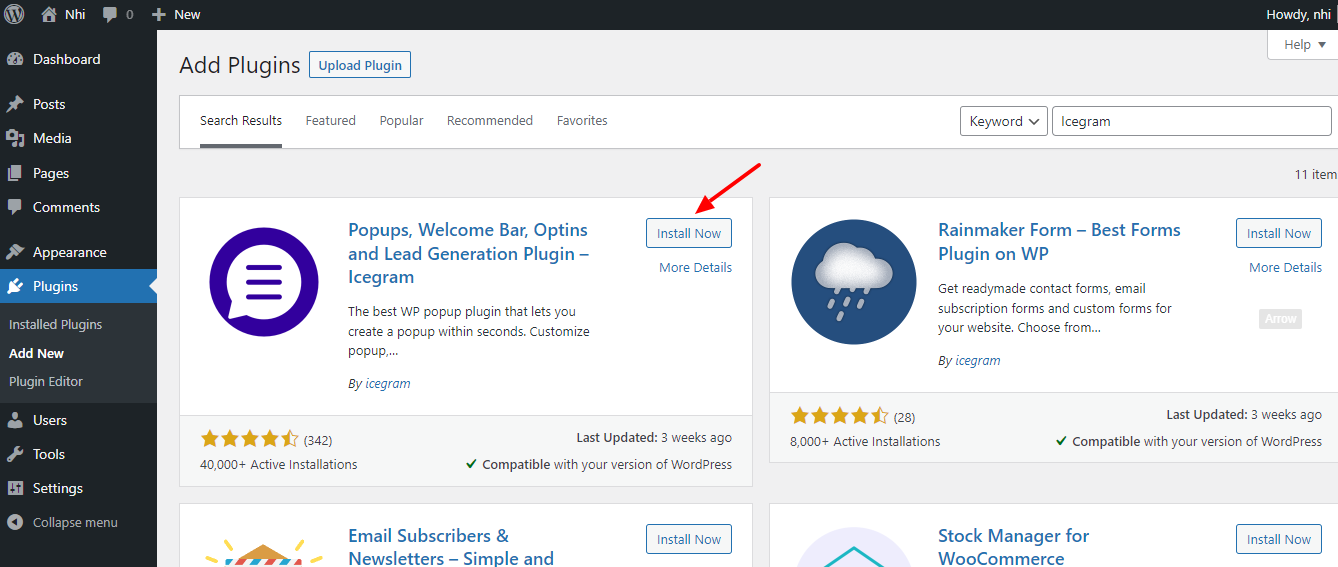
Scroll down until you find the Icegram plugin, click the “Install Now” button, and the plugin will be activated for use.
Step 2: Select A Template
Icegram will send you straight to its Docs & Support page after you’ve activated it. If it doesn’t, go to the left admin panel, click on Icegram, and pick “Add New Campaign” from the drop-down menu.
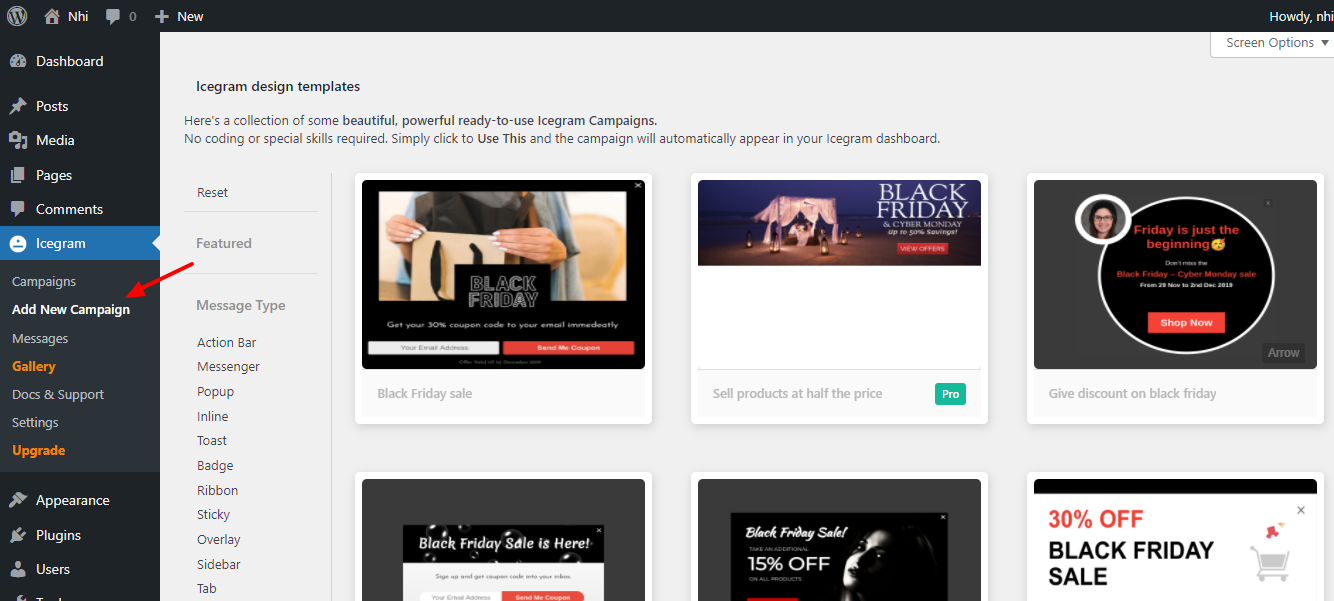
Icegram supports a large number of templates, which you can discover here. Check the bottom right of each template to discover if it’s only available in the Pro edition.
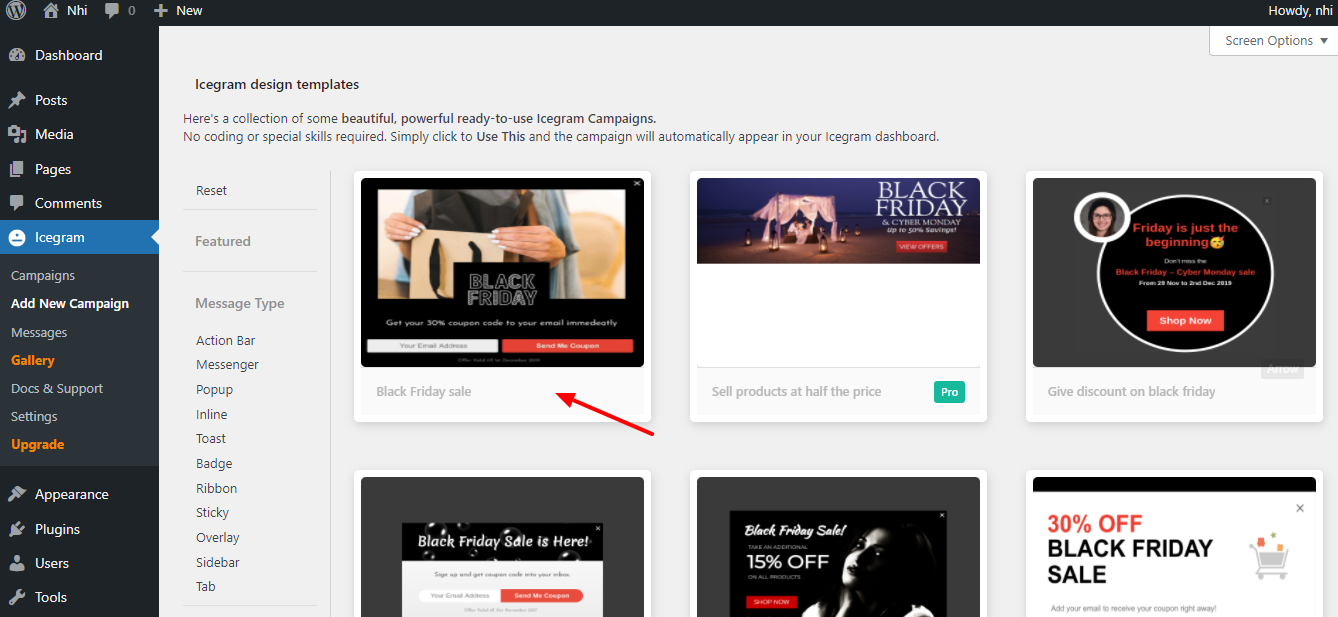
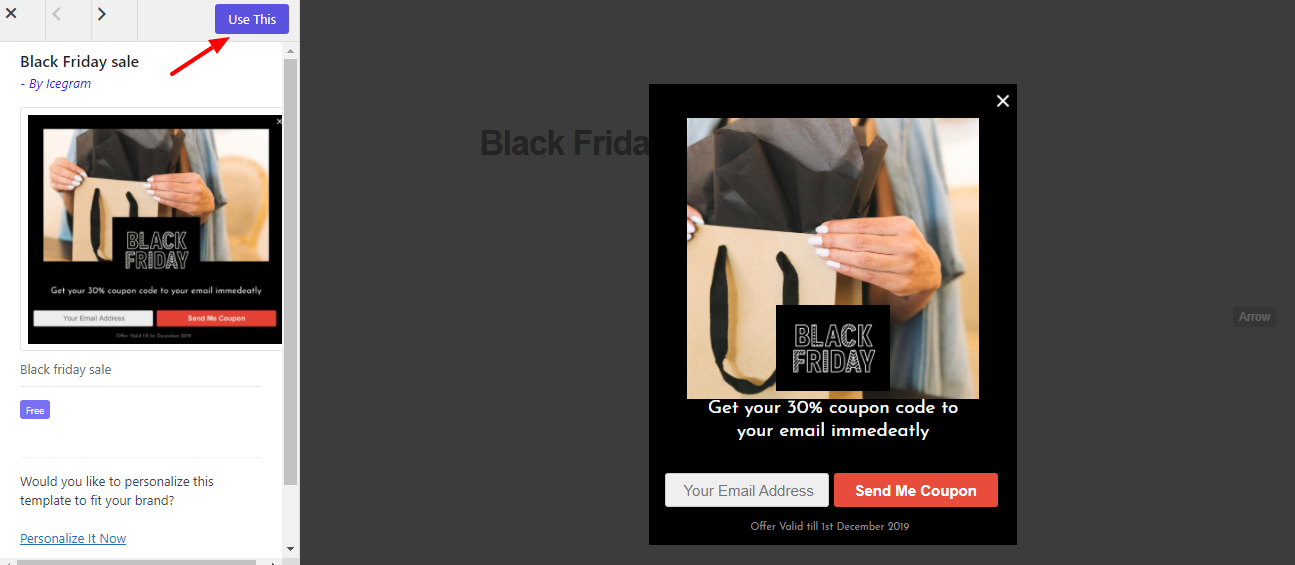
A preview of the template will appear when you click on it. To use the template, click the “Use This” button.
Step 3: Customize the Template
As we previously stated, this plugin includes a lot of customization options, and this is where you may use them all. Messages, Split Testing, and Display Rules are the three tabs at the top.
Fortunately, these options aren’t very difficult. Simply type the information, tick a box, or choose a color in the corresponding textbox. You may view the changes you’re making by using the Preview option.
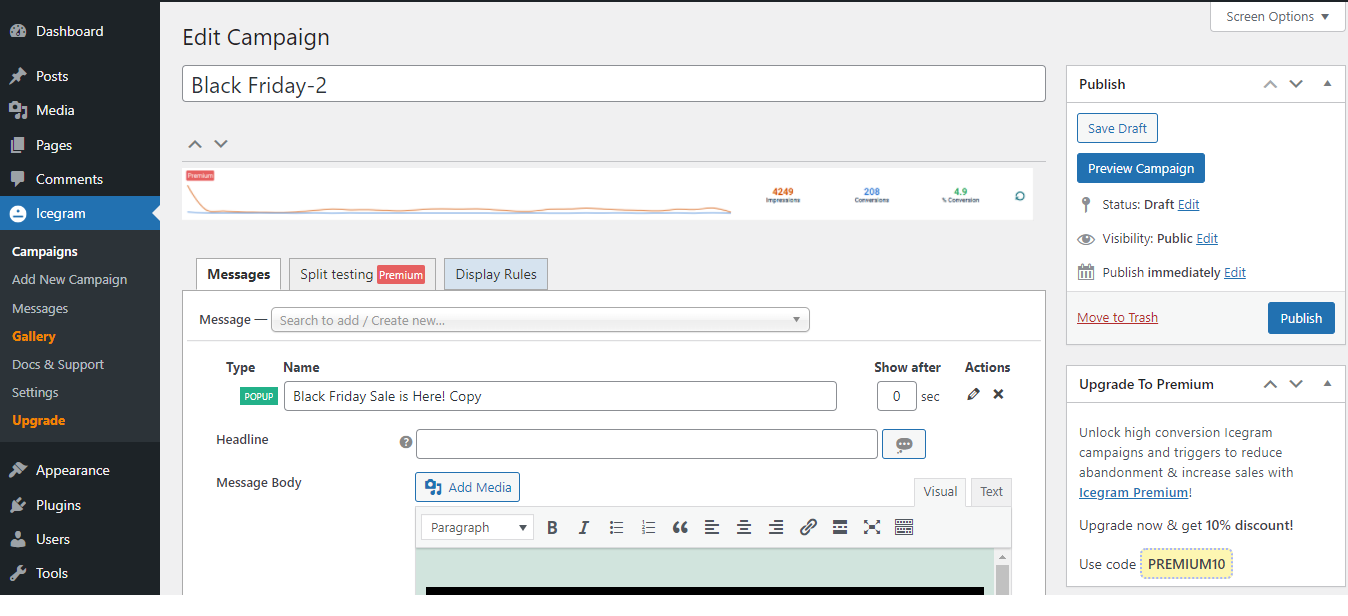
Note: Occasionally, the preview might display a notice stating, “There has been a critical mistake on your website.” If you see this, don’t panic; your website is fine. The preview was a bit troublesome for me.
To save your changes, click the “Save Draft” button.
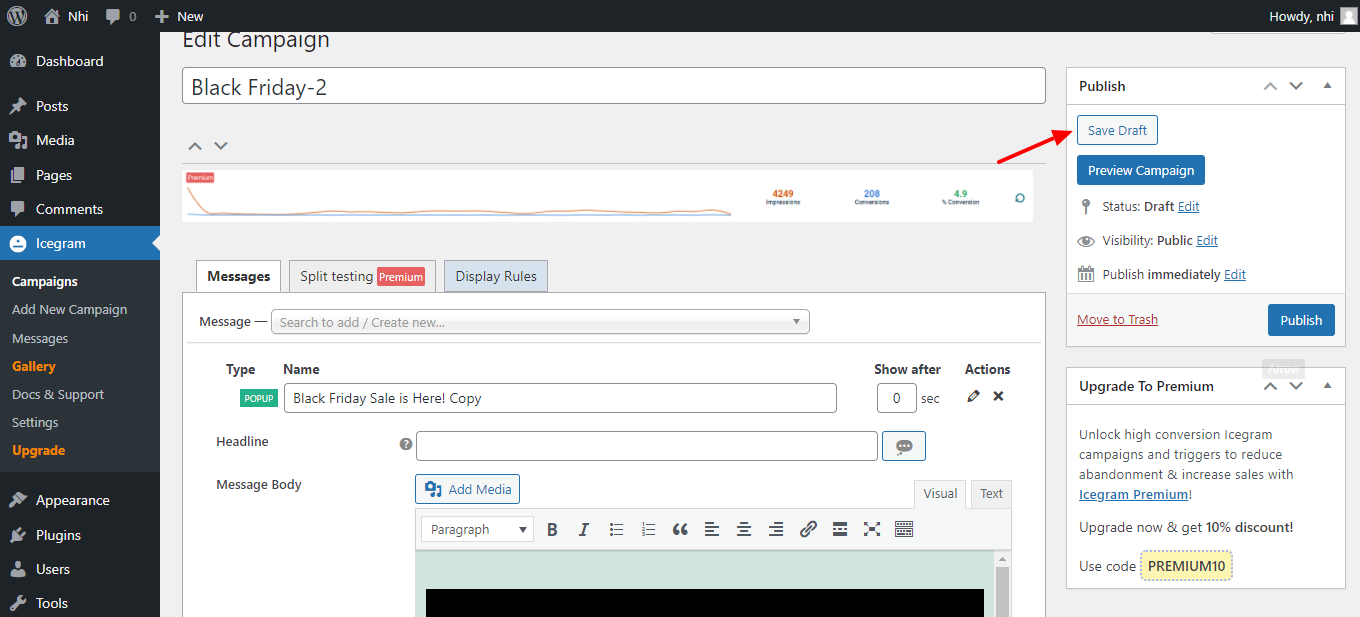
Then, click the “Display Rules” tab.
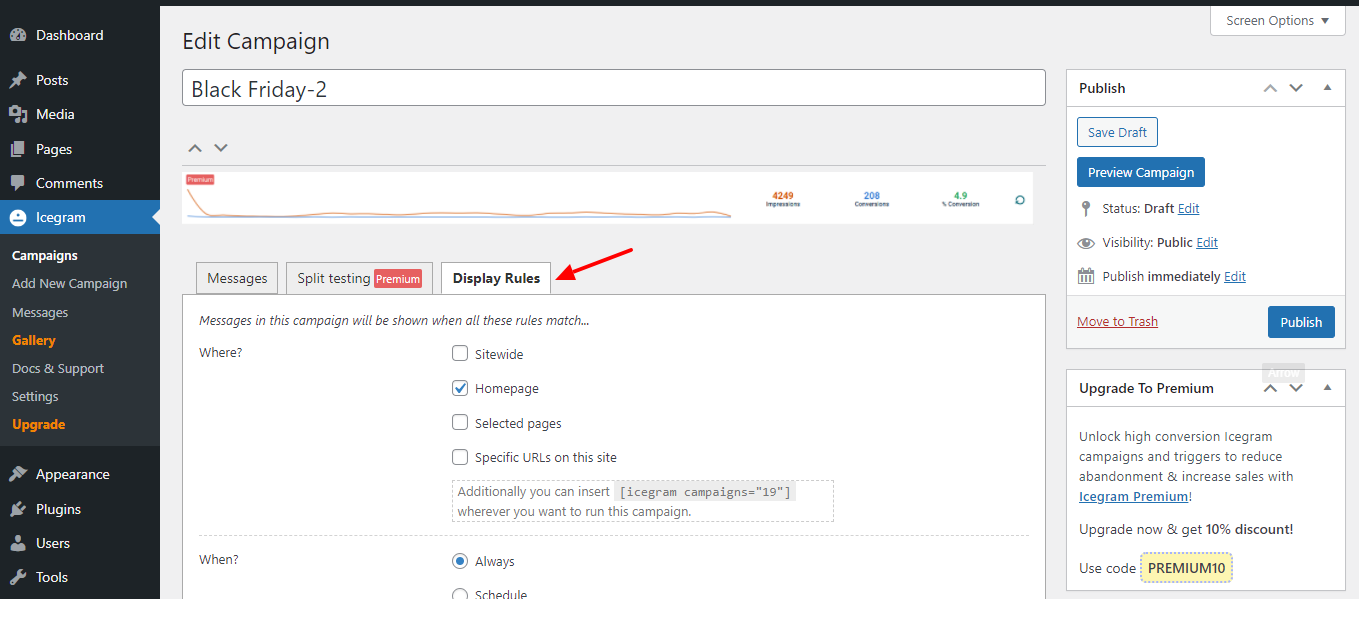
This is where you’ll discover all of the plugin’s display choices. When you’re finished, select the ones you like and save your modifications.
Examine all of the changes you have made on both tabs, then click the “Publish” button when you’re finished.
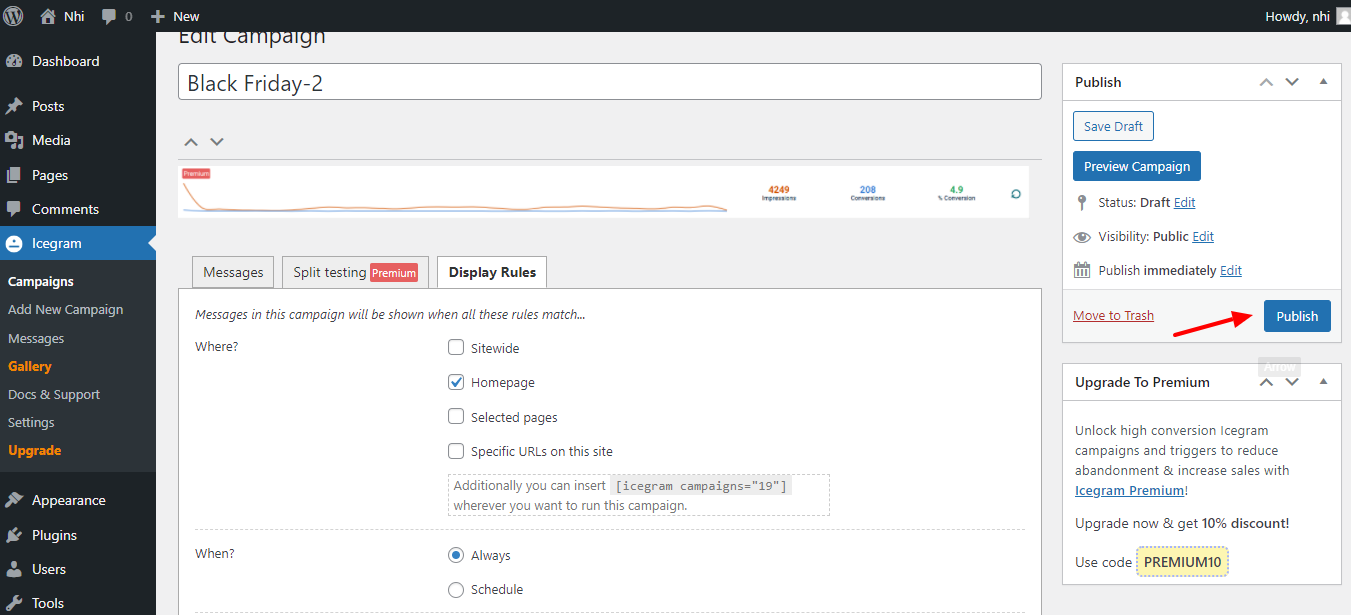
It’s as simple as that. Your floating footer is now ready to engage your audience without any effort.
Summary
Hopefully, this post was useful in teaching you how to add a floating footer bar to your WordPress site. If you have any further queries, please leave them in the comments area below. We are always ready to assist you.
Furthermore, our Free WordPress Themes website contains hundreds of professional, modern themes and templates ideal for a wide range of topics. Thanks for your attention.
