Have you just purchased a Joomla template for your client and need to change the template folder to the project name folder without affecting the original template? This process requires some careful adjustments in various files, so it is not easy for you to implement this task if you are a beginner. For this reason, we provide you with step-by-step instructions to help you easily customize the template to suit your brand and customer requirements. Now let’s dive into the next step.
An Easy Guide to Change Template Folder in Helix Joomla! Template Framework
Here is a detailed instruction to change the template folder in Helix Joomla Template Framework.
Step 1: Create a copy of template with a new template folder
If you’re using a template from our website, for example with LT FazBurger and want to change the template folder to your project name, like “Simple Template” or something else. Now, you can follow our simple guide below.
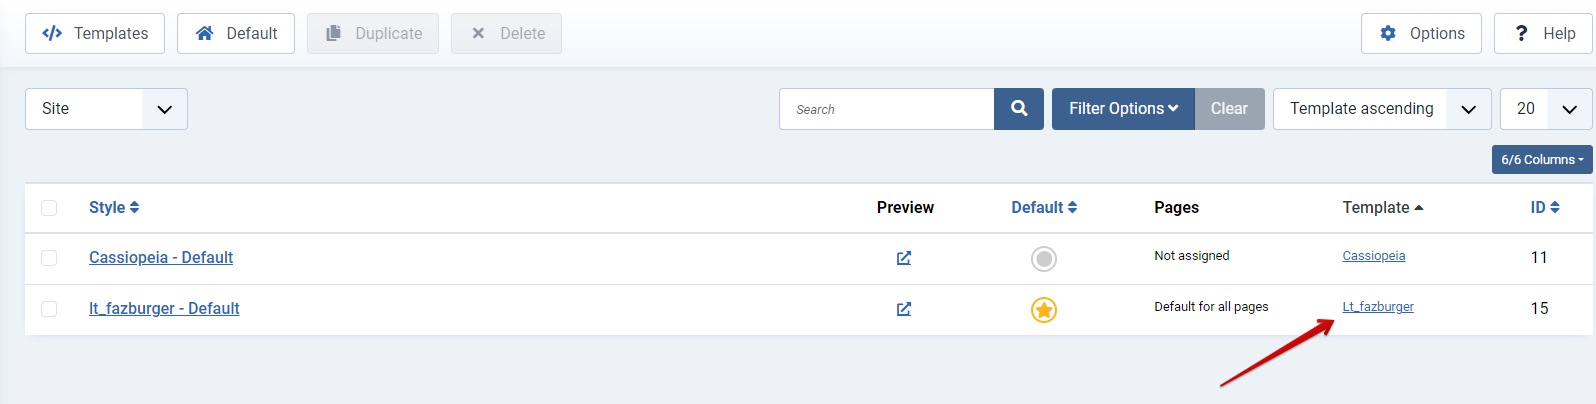
Initially, you need to go to Dashboard > System > Site Template Styles > Click template as image.
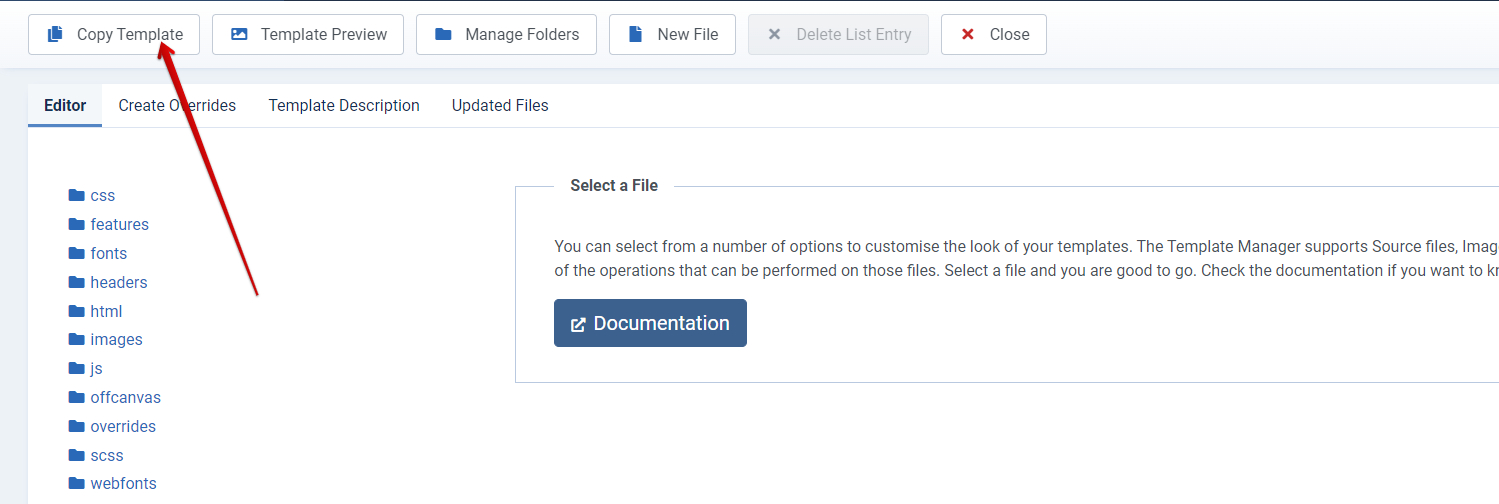
Then, click on the “Copy Template” button.
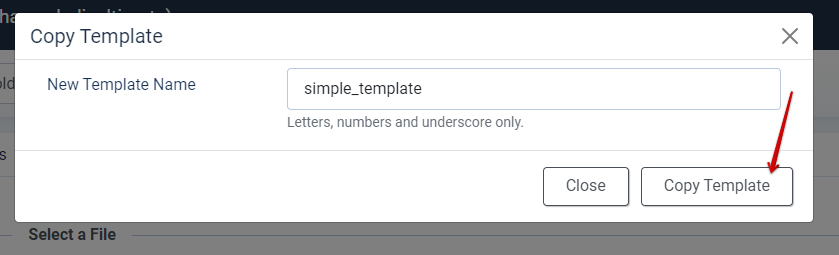
Please you can put your new template name. For instance, we name it “simple_template” for our new template folder.
Let’s press ‘Copy Template’ and you will see a message with a successful copy template alert Okie.
Now, you have a new template that is called ‘simple_template’, it’s a copy of the default template.
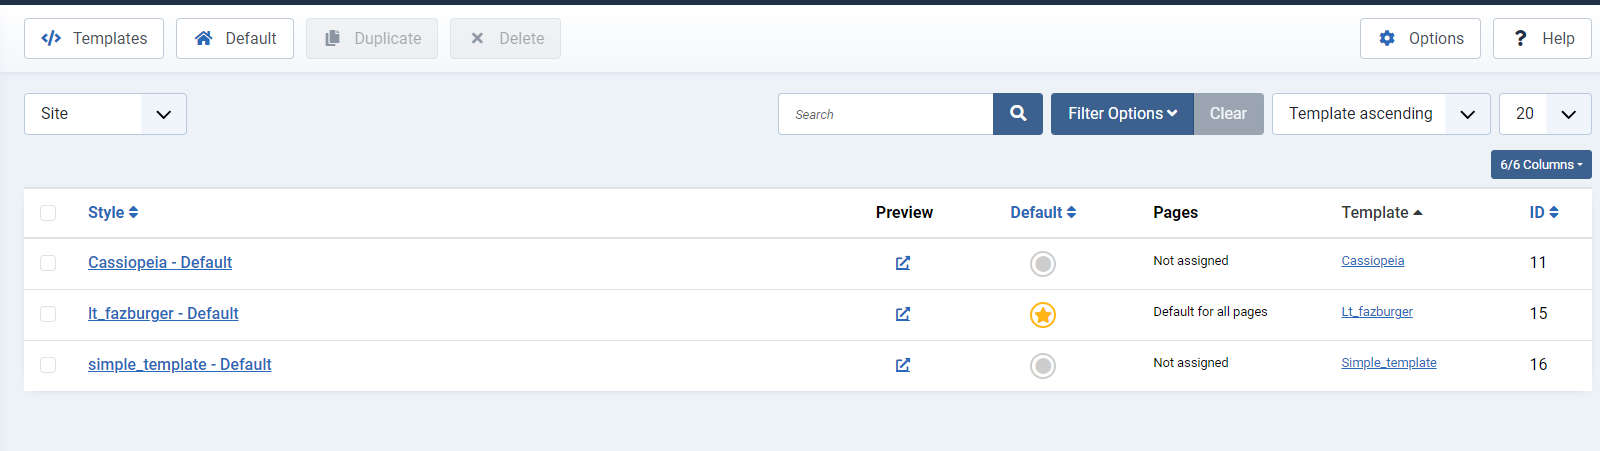
Then, you click on ‘Close’ to continue. Let’s go to System > Site Template Styles, you will see the new template copy that you’ve just created.
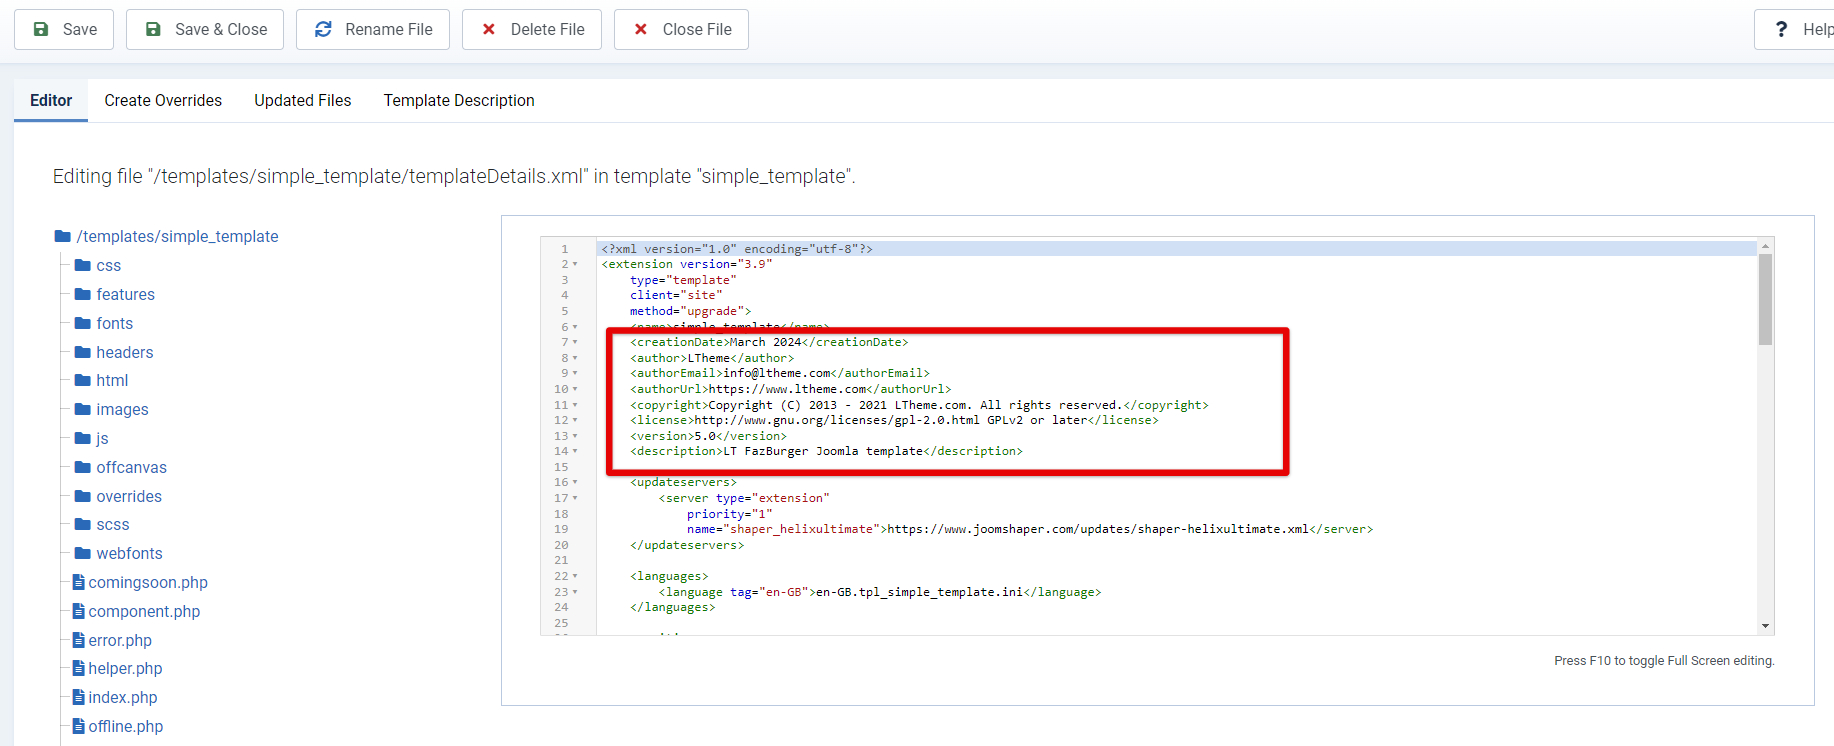
As you see, the new template has the name ‘simple_template’, actually it’s a template folder’, now we can give it with a beautiful name via the TemplateDetails.xml file. In addition, this file includes some info about the template such as template name, template version, template author, etc. as you wish.
Step 2: Apply template layout for new template copy
After you created a copy, it is unfortunate that Joomla! doesn’t understand the Helix Framework layout, so it doesn’t change the layout file (.json) for the new template copy, and we have to change it manually.
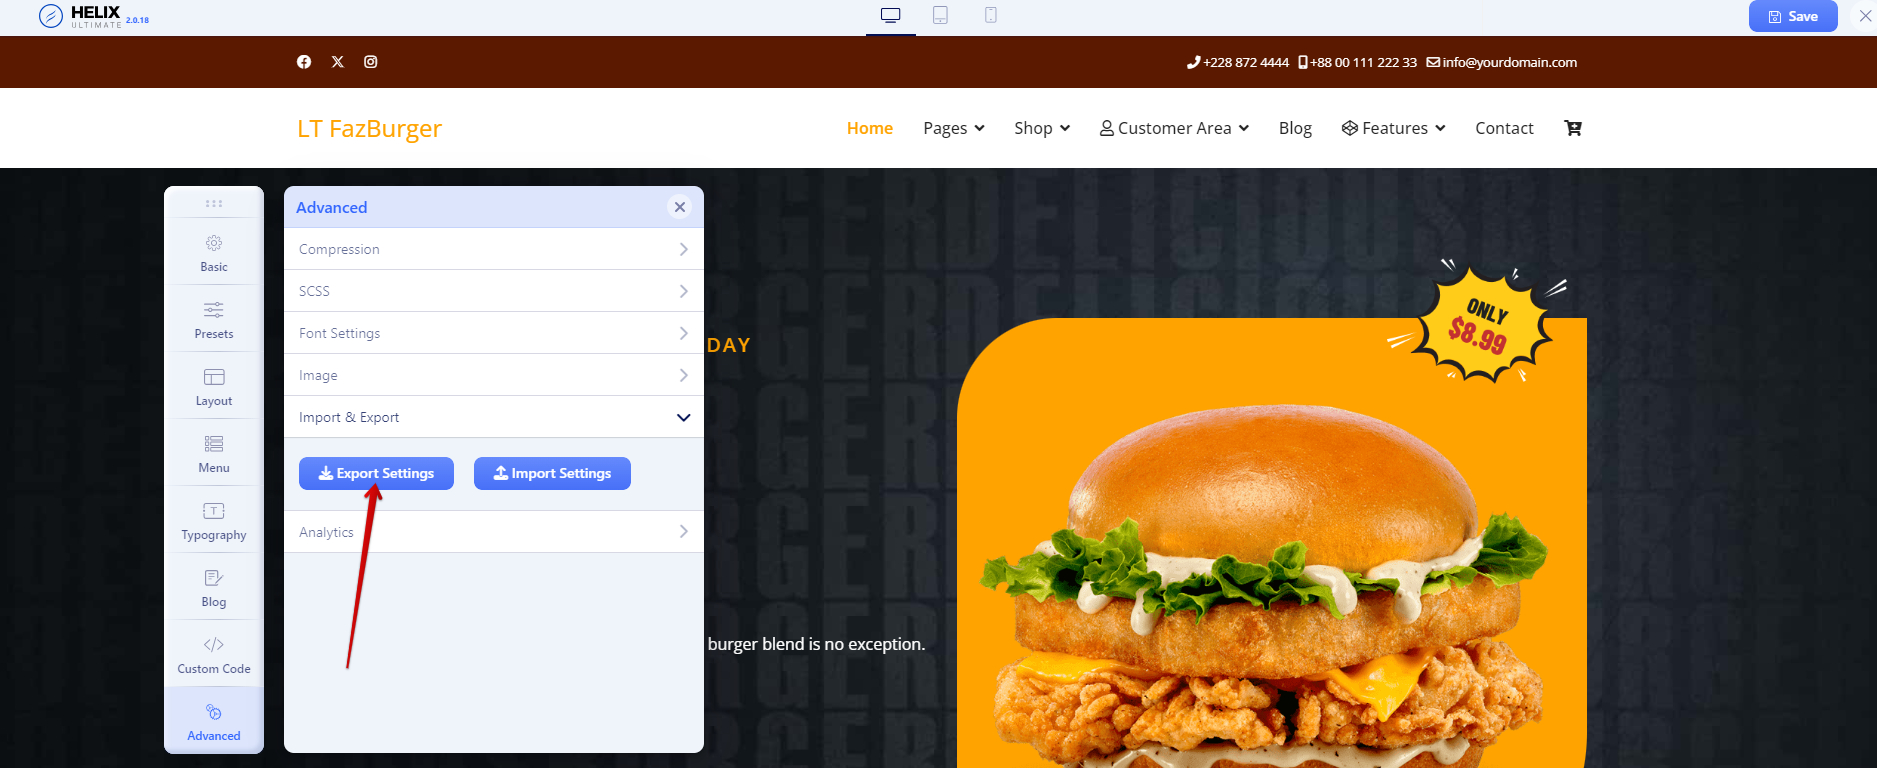
Firstly, you go to the Template Options of LT Fazburger and click the button Export Setting (.json file)
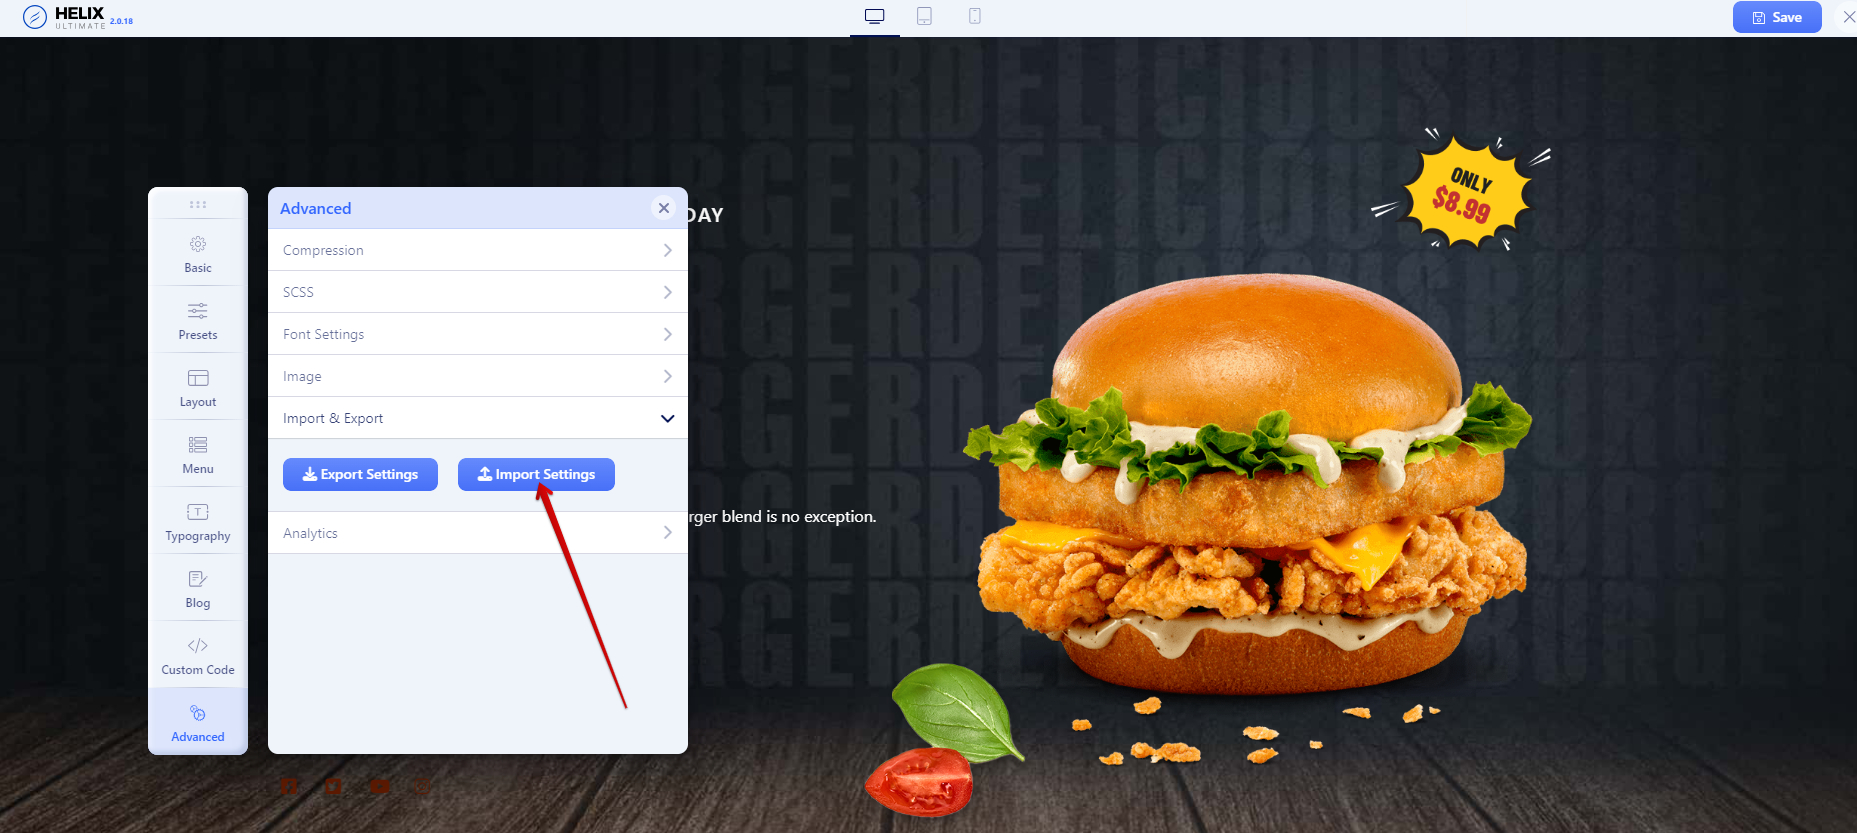
Then, you need to import (.json file) the settings into the simple template and click the “Save” button.
Step 3: Copy language file to Template if you want to zip it and install for another website (*)
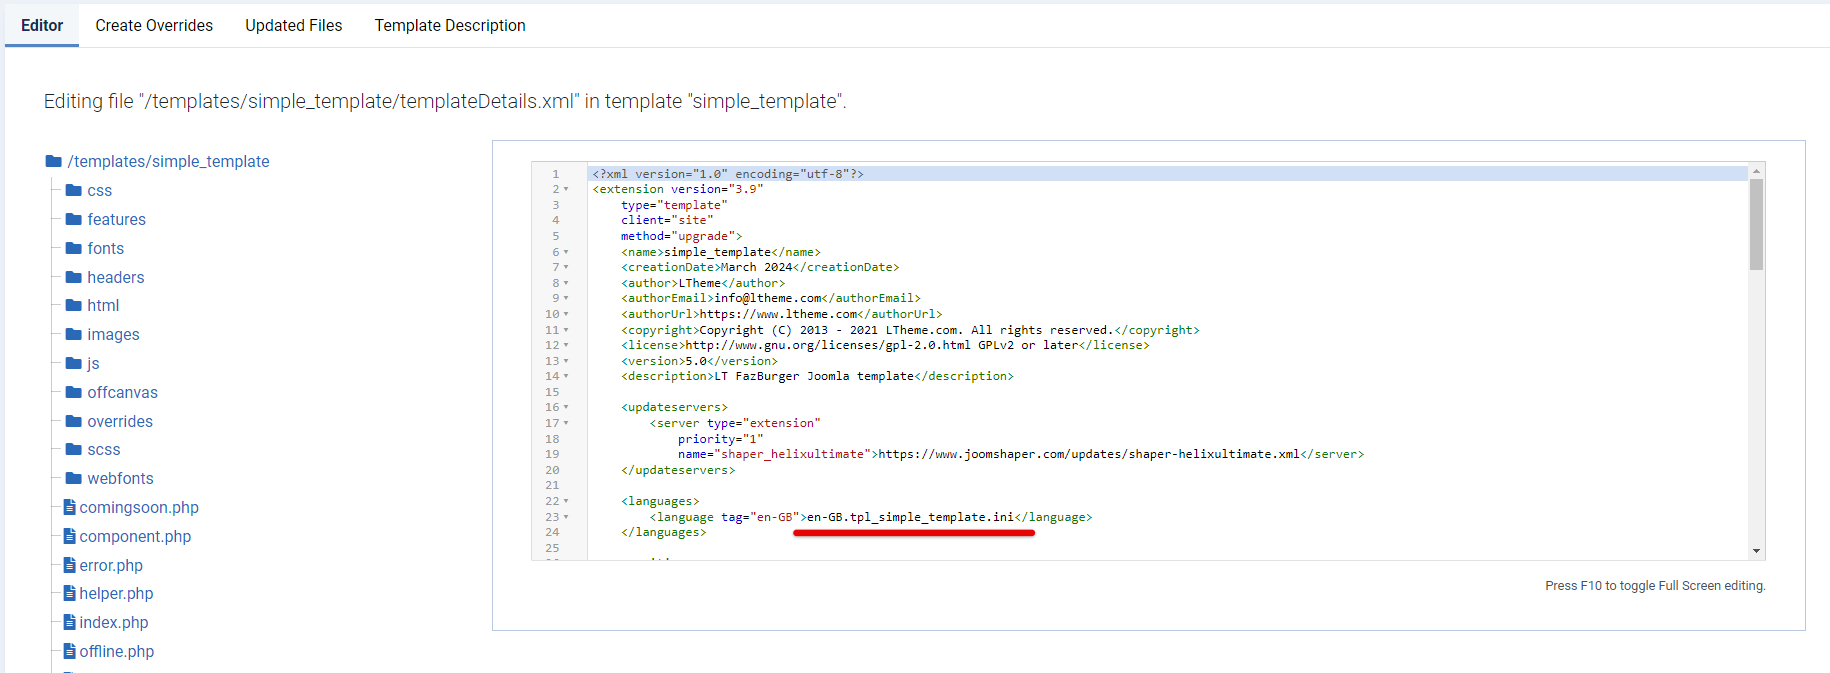
Once you copy a template, it will create a language file for the new template copy automatically, and include it via TemplateDetails.xml.
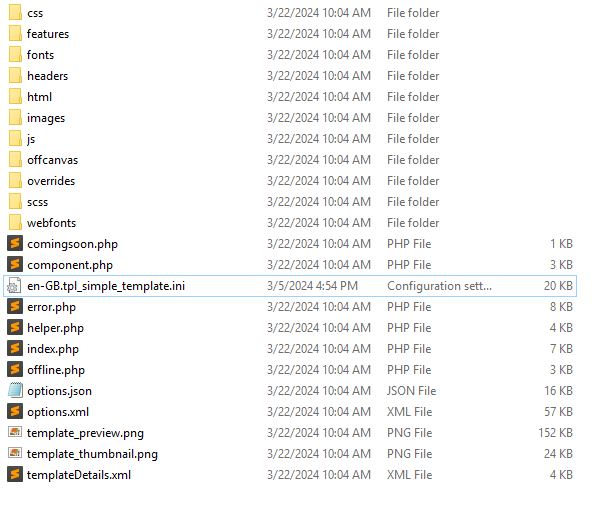
You must copy this file from the old template folder (lt_fazburger) to the new template folder (simplte_template) and rename the language file: Change en-GB._lt_fazburger.ini to en-GB.tpl_simple_template.ini. to make it standard for installation with another domain or website.
(*) If you just want to change template folder, you can skip this step (3). This template is only used for the new template install package which you zip it and install for another website.
Summary
We have just given you a comprehensive tutorial to change the template folder in the Helix Joomla template Framework. Hopefully, you can apply this solution successfully. However, you should notice that this method is only useful for those who are using the Helix Template Framework. It may not work for other template frameworks or come with some unwanted errors after implementing this way.
In case, this solution doesn’t work for your website, please leave a comment. We will support you soon.
We're Content Marketing team from AgeThemes with 10+ years in open source and tech. Our mission is to deliver high-quality content tailored for users of open source CMS platforms, including Joomla and WordPress. We strive to empower our audience with valuable insights and resources to enhance their digital experiences.